Ridge Route or Valley Route: What the Map Makes Visible
Compare a ridge route and valley route on a topographic map by reading contour spacing, bends, and sightlines to choose the line that fits your walk.
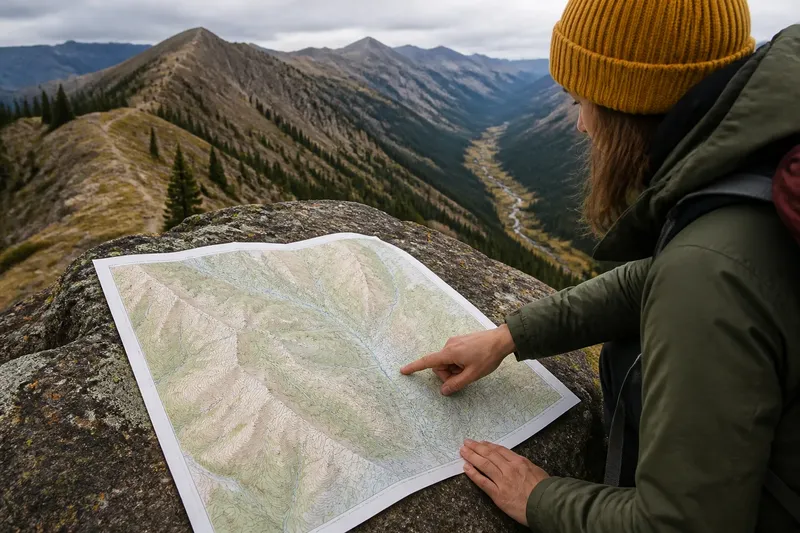
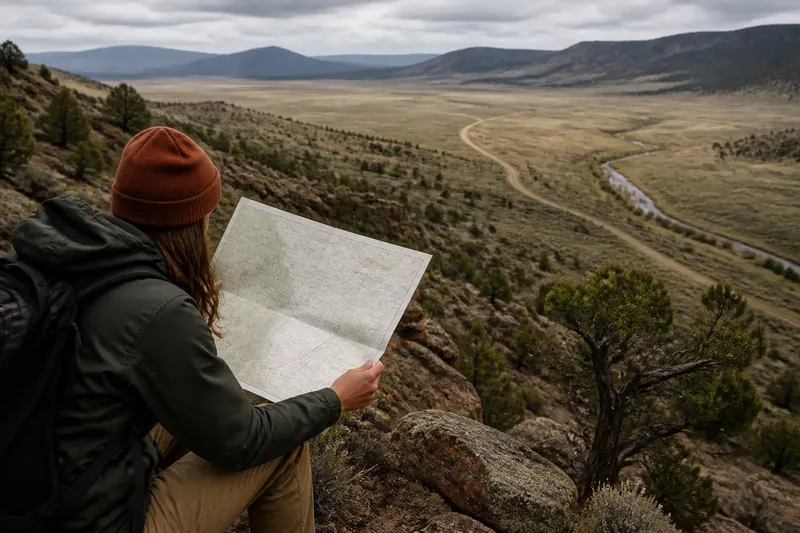
You are tracing a line across a topographic map when the route splits: one option follows the crest, the other stays beside a creek. Comparing a ridge route or valley route starts with the contour lines, which reveal where the ground rises, narrows, bends, and opens to a view.
Read contour patterns
Contour lines connect points at the same elevation. Their shapes suggest landforms, while their spacing gives a visual clue to slope: close lines indicate a steeper change in elevation, and wider gaps suggest a gentler one. Check the contour interval in the map legend before comparing routes, because it tells you how much elevation separates neighboring lines.
On a ridge, look for elongated high ground, with contours curving around the crest. In a valley, contours often form repeated V shapes where small drainages cut downhill; the points of the Vs face higher ground. A creek symbol may mark the valley floor, but small or seasonal drainages may not appear on the map.
Neither route type is automatically easier. A ridge may climb steeply to the crest and then offer a gentler traverse. A valley may begin with an easy approach but narrow into a steep-sided passage.
Choose for the terrain
Match the route to what matters for your trip instead of treating “ridge” and “valley” as difficulty ratings. Consider where elevation changes, how often the line bends, and whether you prefer open views or a more sheltered corridor.
- Observation: The crest appears open and gives sightlines across both slopes. If/then decision: If seeing landmarks matters, then favor the ridge; otherwise, compare its climb and saddles with the valley option.
- Observation: The valley forms a clear corridor toward your destination. If/then decision: If following the low ground suits your route, then favor the valley; if its floor narrows, consider a nearby alternative.
- Observation: Contours crowd together on both sides of a narrow valley floor. If/then decision: If the corridor looks pinched, then compare the ridge route; if the crest requires an abrupt climb, reassess the valley or another line.
- Observation: The ridge rises and falls through several saddles. If/then decision: If repeated climbs are undesirable, then inspect the valley route; if its side slopes are steep or broken, keep the ridge in consideration.
- Observation: Your destination is a pass or crossing between drainages. If/then decision: If a valley leads toward a saddle, then compare a combined valley-and-pass route; if the approach is obstructed or unsuitable, examine another crossing.
- Observation: The map shows a creek crossing or trail junction along one option. If/then decision: If current access information supports that crossing, then include it in the comparison; if access is unclear, check with the relevant land manager before choosing.
Compare gradients and turns
Follow each possible route across the contours. A line that crosses many contours over a short stretch climbs or descends sharply; one that runs alongside them usually changes elevation more gradually. Treat this as a visual comparison, not a precise slope calculation, especially when the map is small or the route is approximate.
Watch for bends around side ridges. Sharp V shapes or tight loops can indicate a tributary, spur, or narrow turn, so a valley route may angle across the slope instead of following a straight floor. Along a ridge, bulges and saddles can make the crest wander too.
Say you have an invented map with a ridge route that crosses several closely spaced contours on its approach, followed by a crest with two saddles. The valley route begins with wider contour spacing but narrows beside a creek, where the lines bunch tightly. If your destination lies beyond the second saddle, trace the ridge line and note the climb and dips; then trace the valley line and mark the narrow section. The ridge is the more direct-looking choice only if you can accept its steep approach and repeated rises; the valley is the alternative if the narrow passage is acceptable and following the creek corridor matters more.
Read the sightlines
Ridge crests tend to separate slopes, so a route near the top may expose views on both sides. A spur—a smaller ridge extending from a higher one—can open a view into a particular basin, while a saddle may briefly interrupt the outlook. Trees, cliffs, and buildings can change what is visible, even when contours suggest an open crest.
Valley routes usually frame views along the drainage. A bend can hide the ground ahead, and steep walls can block views across the landscape. Where contours spread, the valley may open into a broader floor or side basin. If distant landmarks matter, a ridge often offers a better chance of seeing them; if following a creek corridor is more useful, the valley may be easier to read.
Questions about route choice?
Which route is easier to walk?
Neither label settles that question. Compare contour crossings along the actual line, then look for steep pinch points, repeated climbs, and abrupt bends. The gentler-looking option may still have obstacles that contours do not show.
Do valleys always follow water?
No. A valley is low ground between higher terrain, but a map may show no permanent stream there. Seasonal drainage, dry washes, or unmapped channels can still shape the route.
Can a ridge have a gradual grade?
Yes. A ridge may be steep on its sides but relatively gentle along its crest. Judge how the route crosses contour lines rather than assuming the ridge shape determines the grade.
What should I check before choosing?
Read the map legend and current route information for trail markings, access, and features that contours cannot settle. If the decision depends on land access or local rules, consult the relevant land manager.
Make the route choice
If your route centers on broad sightlines and a readable crest, start with the ridge and inspect its saddles and steep approach. If it follows a low corridor or reaches a drainage, start with the valley and examine its tight bends, side slopes, and crossings. When both lines have a difficult section, compare where each one falls relative to your destination and priorities.
It is not worth tracing every tiny contour wrinkle when the map scale cannot resolve it. Mark the broad crest, valley floor, and places where contours crowd together; those are the clues most likely to change your choice. Comparing a ridge route or valley route this way helps you see whether the trip is about looking across the land or moving through its low ground.